Sharing View
Solid allows you to control who can access folders and data resources within your Pod, and what permission they have — i.e., read, create, update, and/or delete.
View
To display the Sharing view for a folder or data resource:
- In the SolidOS Databrowser, navigate to the resource.
- Select the
 Sharing view.
 - The Sharing settings for the selected resource are displayed:
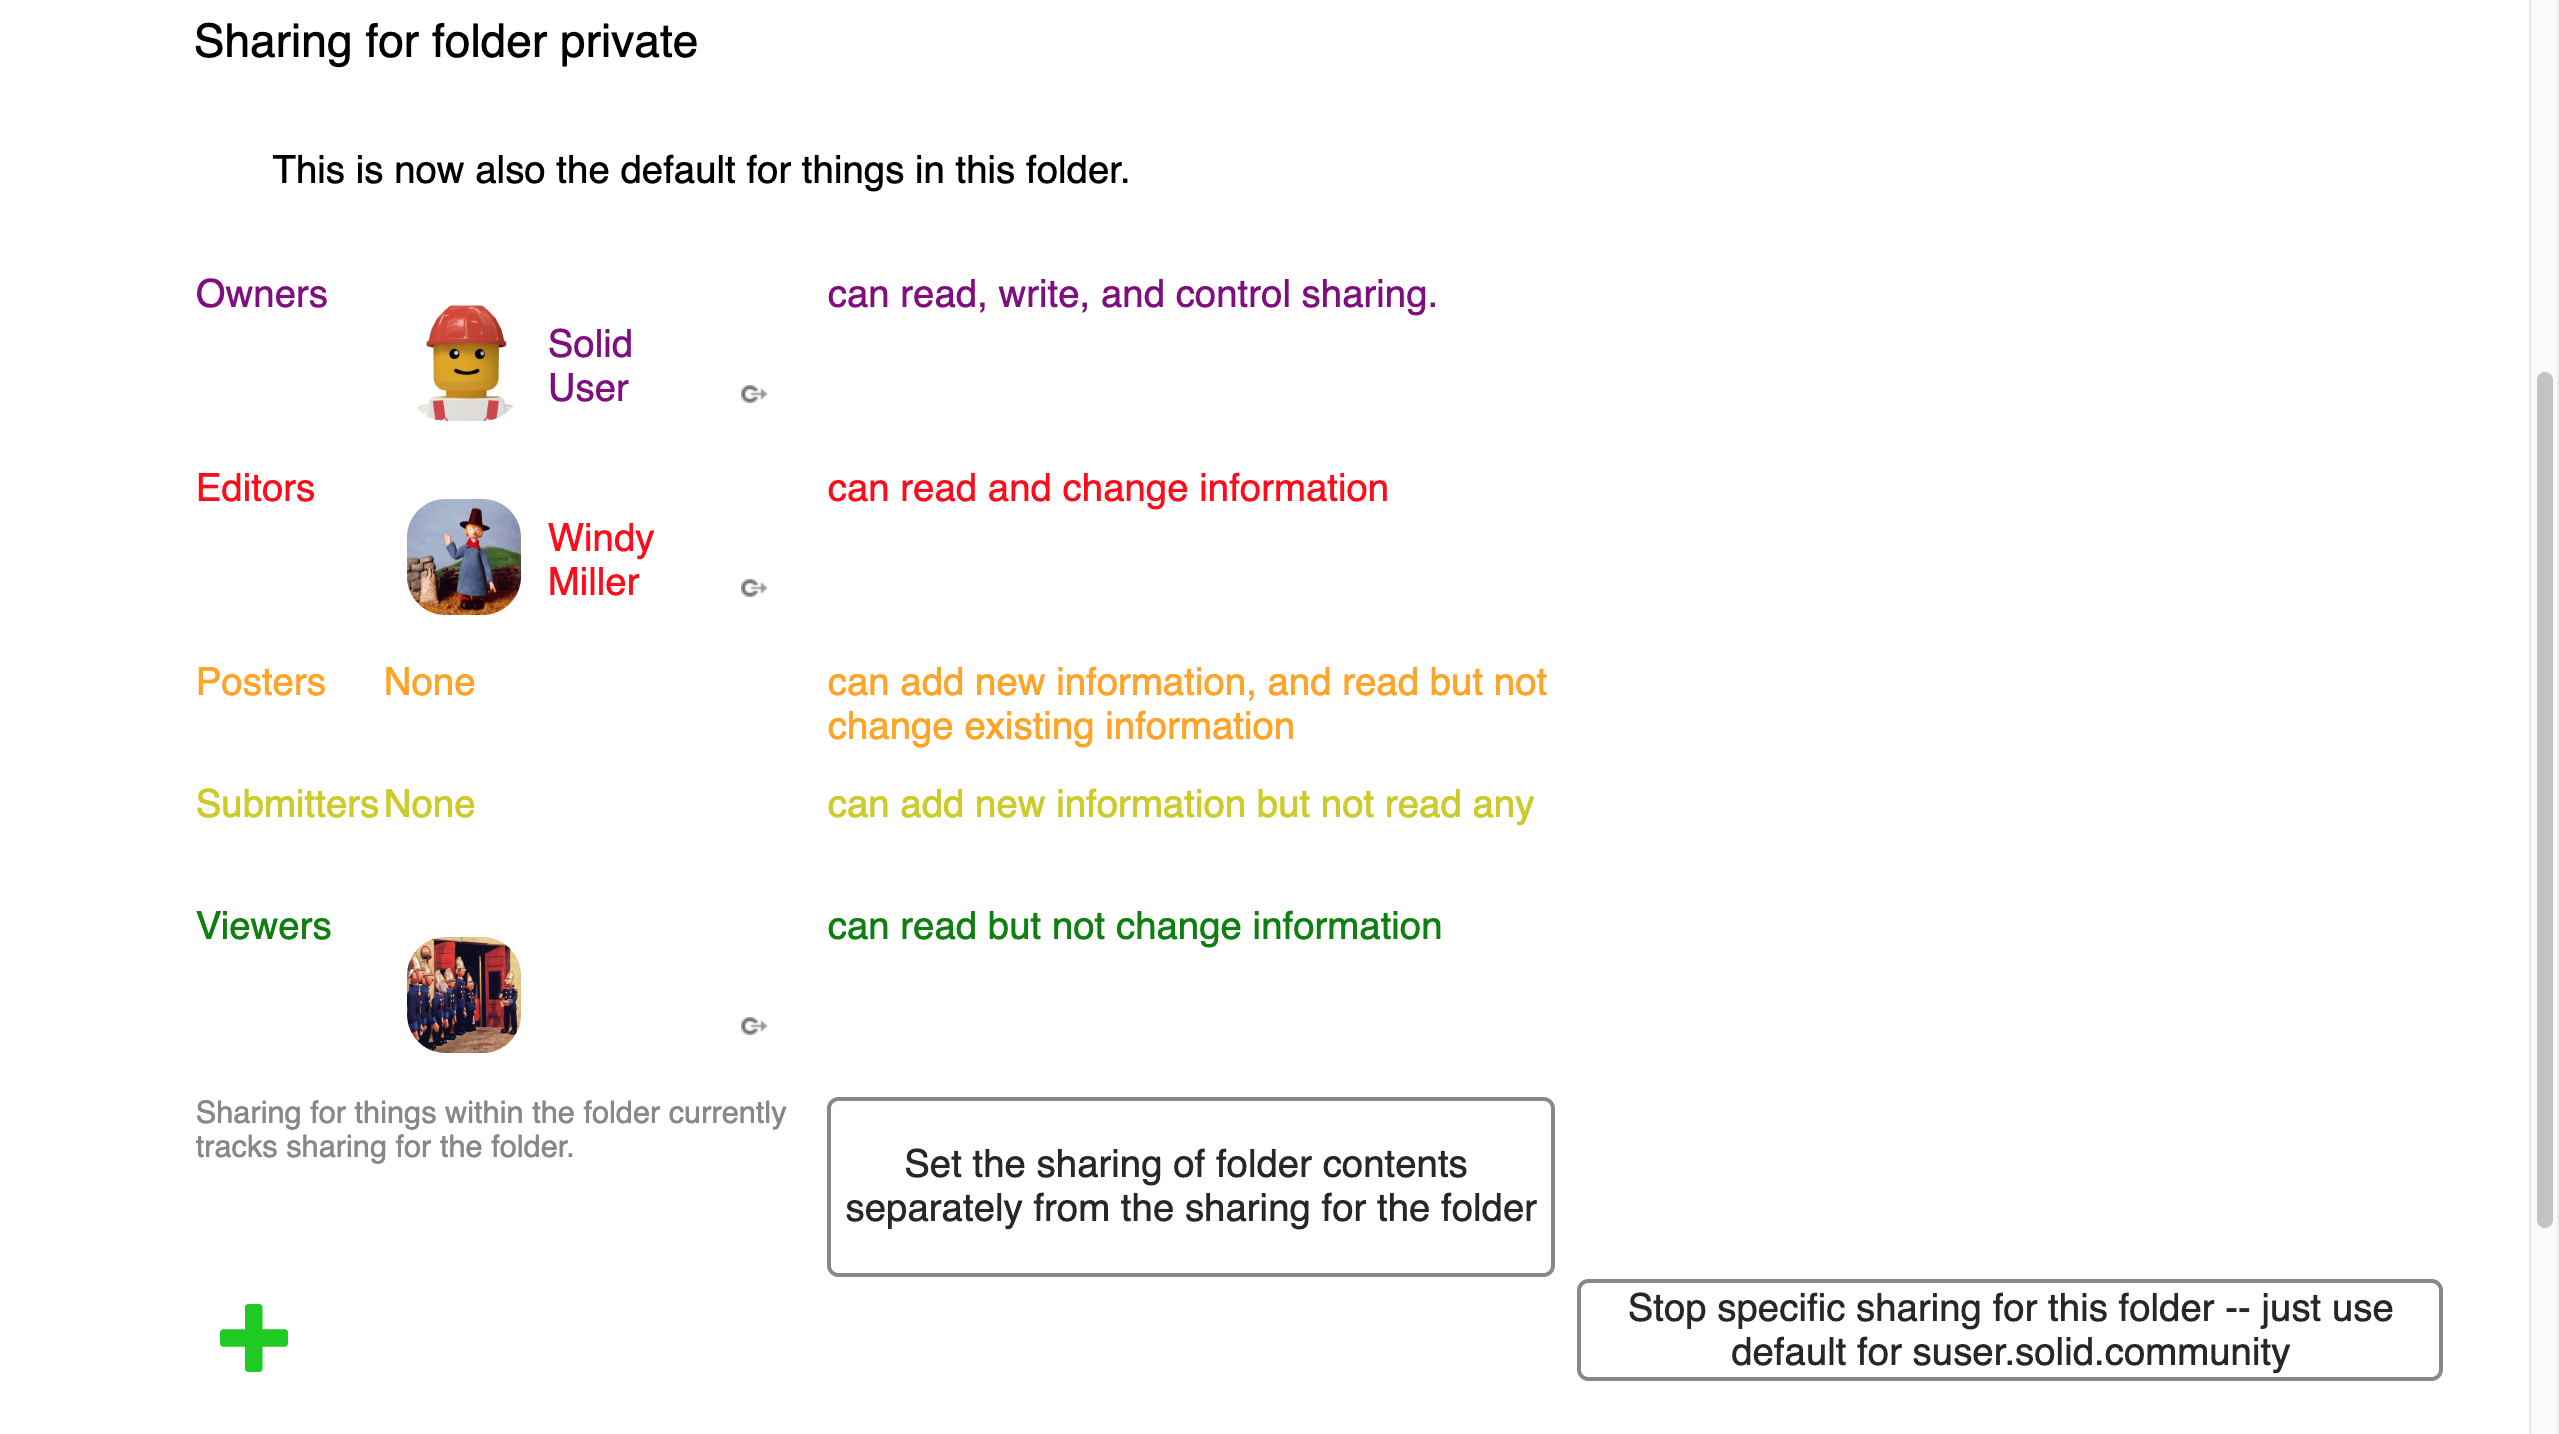
For each of the Sharing groups - Owners, Editors, Posters, Submitters, Viewers - the Sharing view displays the group members and the assigned permissions.
Clicking the  Goto icon next to the user's Profile image/name will display the user's profile.
Specific Sharing for a Resource
By default, resources within a folder inherit the permissions from the parent folder.
To set specific sharing for the resource:
- Click the Set the sharing of folder contents separately from the sharing for the folder button.
- This causes the sharing groups (Owners, Editors, Posters, Submitters, Viewers) for the specific resource to be displayed.
To reset the sharing for the resource back to the default:
- Click the Stop specific sharing for this folder/file button.
Custom Sharing
The sharing permissions for a given resource can be updated to provide access to specific users, groups, bots, authenticated agents, trusted applications, or even everyone.
Add
To add a user/group/bot as Viewers:
- Click the
 Add icon.
 - Icons are displayed for each of the entities that can be given access to the resource:
 User
User Group
Group Everyone
 Authenticated Agent
 Bot
Bot Trusted Applications
- Select the entity type for which you want to provide access.
- If a User, Group, or Bot is selected:
- A text box is displayed allowing the URI for the entity to be entered.
- Enter the URI for the entity and click
 Continue.
 - The entered entity is added as a Viewer.
- If Everyone or Authenticated Agent is selected:
- Everyone or Authenticated Agent is immediately added as a Viewer.
- If Trusted Applications is selected:
- A list of your trusted applications is displayed.
- Select the Trusted Applications you want to give access.
- The selected Trusted Applications are added as Viewers.
- If a User, Group, or Bot is selected:
- Once added, the sharing access of the entity can be adjusted.
To add an entity directly to a specific sharing group, either:
- Click-and-drag the URI for the entity onto the sharing group; or,
- Enter and display the URI for the entity in a new browser tab, and then click-and-drag the icon displayed to the left of the URI in the web browser address bar onto the sharing group:

Adjust
To move an entity between sharing groups:
- Click-and-drag the entity between the sharing groups.
Remove
To remove an entity from a sharing group:
- Hover the mouse pointer over the Goto This icon next to the user's Profile image/name.
- A
 Remove icon is displayed.
 - Click the Remove icon to remove the sharing access for the entity.